Deep Fishing guides
These are the Deep Fishing guides on this site, grouped by what you are actually trying to do next. If you are brand new, read the beginner guide first — it stops the most common early mistakes before they cost you an hour.
Start here
- Beginner guide — your first hours: casting, selling, and the first upgrade that matters.
- How to cast farther — Strength versus Weight, and how to read the depth bar.
- Best upgrade order — Strength, Weight, Capacity, then Bounce, with the reasoning for each.
Gear and upgrades
- Rods and rod unlocks — the wooden rod key trick, the Chronus Rod, and the frost temple rod.
- Baits and when to use them — what bait changes and what it never changes.
- Enchants: normal and ultra — the two enchant slots per rod and why they cannot be moved.
Chasing rare fish
- Mutations and multipliers — measured mutation multipliers and scroll risk.
- Secret fish and rarity — the rarity ladder and the named temple offerings.
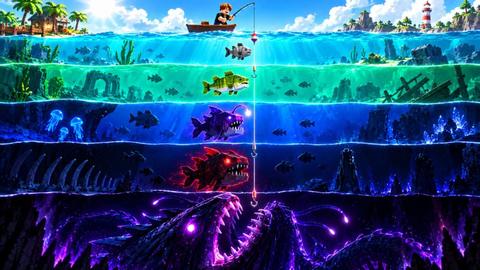
- Waters, depths and worlds — depth bands, Dune Haven and Frostmire.
- Keys, temples and mazes — sand key, frozen key, both temple runs.
Money and data
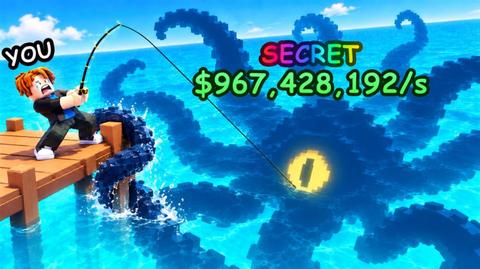
- Coins, pond and AFK money — the passive pond loop and the kraken sell.
- All badges and rewards — all 13 official badges with their descriptions.
- Gamepasses ranked and priced — all nine passes, Robux prices, and what each one changes.
- Deep Fishing FAQ — free to play, rewards, server size and the pond questions.
How these pages are written
Every page is built from two sources: the game's own public data (the Roblox game page, its group, its gamepasses and its badge list) and player-tested footage — recorded runs of the current build. Where a value only exists as a player measurement, the page says so. Where a system changed in a patch, the page says what it changed from.